Sunday, August 29, 2010

More On Brick and Drywall

Though progress has slowed over the past couple weeks, we are still pretty excited about how the interior and exterior are turning out. The following shows the drywall before texture and start of the stone work. We have decided to go with a blown in texture called stomp and drag for ceilings and a knockdown texture on the walls except in the main family areas and master bedroom/bath where we are going to have the painter use a hand applied old world texture. Enjoy the progress!!

This first is of the family room looking out the back and awaiting some stone on the fire place.
Here is the kitchen and dining room. The arches came out really nice .
This is a nice view of the double trayed ceiling in the master bedroom.
Here we left an exposed beam for special treatment in the master bath. Probably will go with a knotty alder beam.
This is the first facade completed in stone. It is called rattle snake. We use a thin stone which does not require a brick ledge but is more challenging for the brick mason to lay.

Here is a close up of the rattle snake. My sweetie and I really like how it has a sparkle to it when viewed in the right light. Also you may be able to see some some little sea creature imprinted on the stone


This final shot is very nice with a front view of the soldiers and the stone work over the entry way. Check out the brick soldiers above the entry.

Sunday, August 8, 2010

Progess: insulation, drywall, and brick!

This blog is organized from most recent pictures to the oldest. These pictures span from early July through early August. BUT the most recent pictures are not yet uploaded. The drywall and taping are now completed as of today.

These first few are pictures from the morning before before the drywall began going up. This was the last time I could get shots of the foam insulation before it would be covered for good by the drywall. The staging of the drywall can be described in no other way that extraordinary feats of strength. The guys brought the very heavy sheets of dry wall in very early on the last day of the insulation before I even knew it.


Here is progress from the first day of brick work. The brick mason and his crew got a great start the first day as you can see.

Another shot of the insulation. This is from the media room.


After a long July of many things leading up to insulation and dry wall we are finally turning a corner. My last blog was back on June 27th and honestly I don't know where July went because went I look at pictures from late June, there are not many substantial differences since. But there are some key areas of progress.

Here is the new brick. The old brick was out of budget and so we went with a king size (larger) brick that is from Oklahoma. The brick is called commercial antique.

One area of progress during July was the debris pile Here you can see a before and after picture. A small local company stopped in and in about 24 hours cleared a huge portion of the pile.


These are the two main AC units for the house. Lots of duct work.

This is looking up at the ceiling of the kitchen.


Sunday, June 27, 2010

Dried In and Liking it

It has been nearly 3 weeks since my last update. Time really flies. So much progress has taken place and it is starting to truly look like a house. The roof decking was finished. All the radiant barrier siding was installed by the framers and we now have windows! Also the roof was installed in between 8 inches of rain over two days. And we started and are nearly finished with the rough in plumbing, HVAC, and next week we have the electrician scheduled for the high and low voltage wiring. Here are pictures from the last few weeks. We are working toward the major inspection before the insulation and then the dry wall.

This first shot is just as the roofers started work. Notice the heavy clouds in the distance. We had just about 4 hours before the storm hit.

Here is another of the 40 windows for the house just after delivery. The install had to wait a couple days before the rain stopped. This picture was after the rain storm and there was water on all the floors including the up stairs. I had to spend one evening using a leaf blower to blow all the water off the 2nd floor wood flooring. It had at least an inch of standing water. This was important because unlike the OSB decking, regular plywood can warp and buckle when exposed to standing water.
Here the sticker shows the Low "e" energy ratings for the windows.

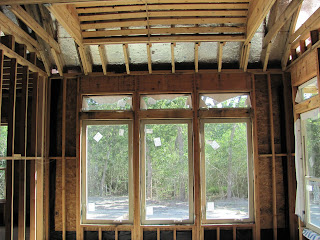
With the sunny weather, the roofers made a good amount of progress and finished the felt and roofing. These are the main windows in the family room. The arch to the left leads to the dining room.

In the dining room we went a little above budget and chose casement windows which have a crank to open up from the side.
Another small task here....my bride did a great job coordinating with the fireplace company while I was away traveling. You can now see what the fire place is starting to look like. We are thinking we will go with stone all the way to the ceiling.

From the plumbing rough in, this is the main manifold which directs individual water lines to each of the faucets through out the house.

We still have a long ways to go on the kitchen...

Here in the 2nd floor game room, the HVAC vents are now ready to go.
I
I will snap more pictures of the plumbing and HVAC work. We are very excited about the electrical sub coming next week. The contractor spent 4 hours with us one day last week to went over every single plug and outlet in the entire house. Talk about great customer service. We were very happy with the help in planning the electrical.

Okay..gotta run for some fresh empanadas. Yummy...

Wednesday, June 9, 2010

Roof Decking, Windows, and a Surprise in the night

While checking out a fellow builder's site, my wife and I came across this fine specimen of copperhead. Notice the raised head ready to strike. These guys have been more active recently with the rain. The word is also that skunks too have been seen around the hood...

Here we have a barrel ceiling that will be in the dining room. The plan is to dry wall the barrel and use some nice flaked paint for contrast.This is a familiar shot of the garage. Here the cornice is installed and the tech shield siding is now installed on the exterior walls.


Here we have the front elevation with the two dormers. We are working with the framers on adjusting the curved eve for it to achieve the look my wife and I are looking for.

Here the roofers are beginning the 30 pound felt on the backside of the house.

Here is a nice picture of the backside of the house with decking, a good view of the chimney, and more felt going up.
Here is the first shot of our barkwood (read brown!) roofing. It is a shade that is in between darker and lighter brown. We are going to play with the brick mortar and stone to see what combination looks best.
One big part of today was delivery of the windows - 40 in all. Because of delivery late in the day, we had to store them just for this one night before installation in the morning. These windows are lowE 366 with a solar heat gain coefficient of .24 and U factor of .27. This translates into a very efficient window which will significantly reduce the level of heat from the windows. Oh, we have have argon too. The big one in the middle a 4060 fixed picture window. We have three of these to go across the family room.

Tomorrow the HVAC guy arrives to start his rough in while the plumber started today. The roofing is delayed some while we wait out a low pressure system which is predicted to dump more much needed rain tomorrow. This have been a very exciting day as many plans are really starting to come together and take shape. Next: Windows installed!

Wednesday, May 26, 2010

More framing action

Here is the result of our quest for the perfect brick by my pretty wife and I. We picked a hand tumbled ole orleans style brick. The catch is the added tariff for transportation of this brick all the way from Macon Georgia. Still quite a beauty though we broke the budget on this line item!

Another view of the front elevation. The window on the front of the garage needs to be lowered so that they are at the same height as the other windows on the front of the house. With my expert framers this will be no problemo.

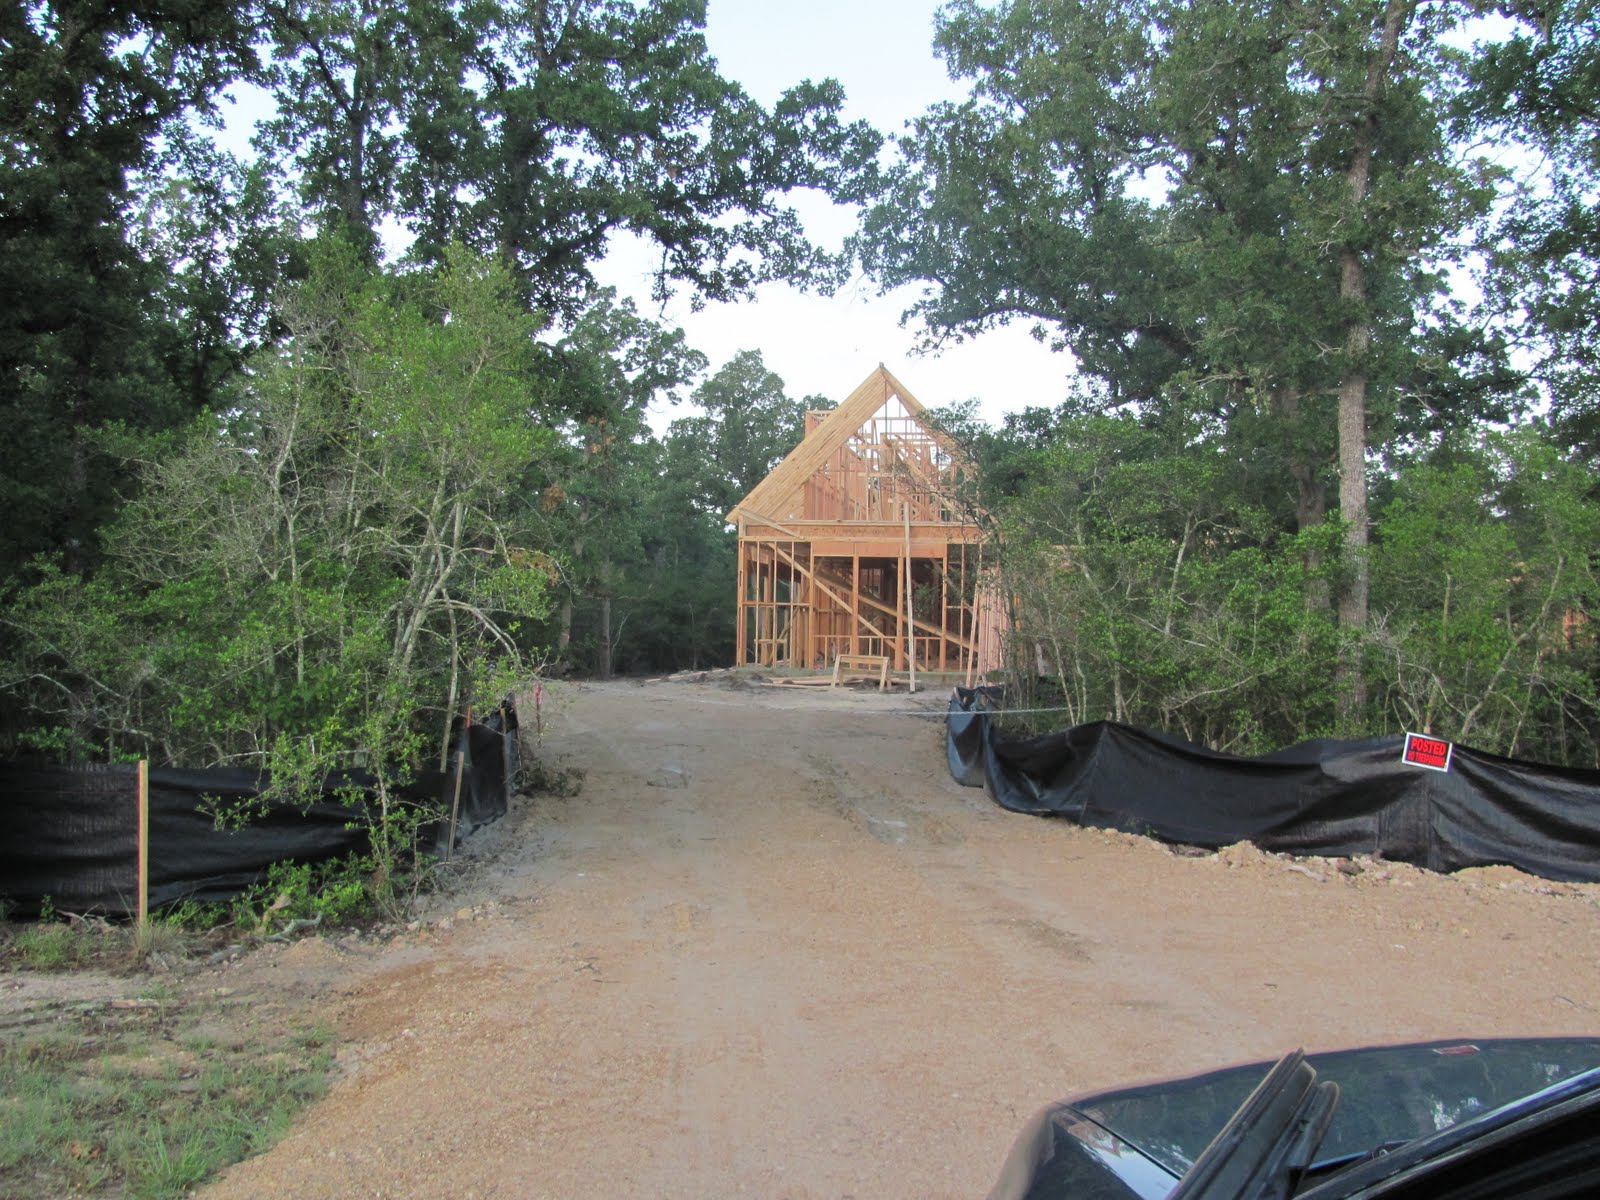
Progress as seen from the street view. We had some good rain storms the day before and the soil was moist. We situated the slab so that it is turned away at a slight angle from the driveway.
This is the latest picture of the garage and backside of the house. Note the dormer framing on 2nd story. Soon the stairway will be in place which will give us our first views from above.
This view of the rafters above the family room. We raised the ceiling to 12 feet to give it a spacious feel. The 3 windows in the background will be sized 4060 (4" wide and 6" tall) fixed picture windows with transoms windows up top.
Here is my little one with a new found bed for her baby. Such a cutie!

Tuesday, May 18, 2010

Framing and other fun stuff

Here are a few pictures of the project. The first are prepour shots of the cabling that went into the slab. Then several pictures of the framing along the way. Enjoy though the commentary is limited! May have time to revise in the days to come.

This first shot is of the master bedroom ceiling - very cool.


Here is the garage now with the joist for the 2nd floor. The framers are so quick.


First shot of the framing....a good days work on a Friday.


Trenches and cabling looking from the back side of the garage towards the main entry.


Here we have the back porch which will have a slight angle for run off


Thursday, May 6, 2010

Time to Pour

Here are the concrete trucks lined up to pour concrete. It started in pitch dark but at the last minute left my camera at home, had to make a return trip to fetch it, and so these pictures were from a bit later in the morning. Still got some great pictures. The concrete plant is just 3 miles from the house site so the coordination was great.

This spot light helped the job start at 5 a.m. This picture is from the day before. BTW...I somehow lost my cell phone that evening while laying some last minute flexible conduit. Thanks to my wonderful wife loaning me her phone, I was able to track down the phone in a trench ...otherwise it would have been buried below a ton of concrete just a few hours later.


This is the pumper and remote operator who worked the controls like a conductor directing an orchestra. See the video for the action.


Here are the guys smoothing out after pouring. This was a constant exercise all through out the 3 hour pour. In total it took 152 loads of concrete to do the job. The estimate of 150 loads was nearly perfect.


This device smoothed the slab to a shiny finish. It just about looked like glass it was so smooth.


This video shows how it all got done. Enjoy!